
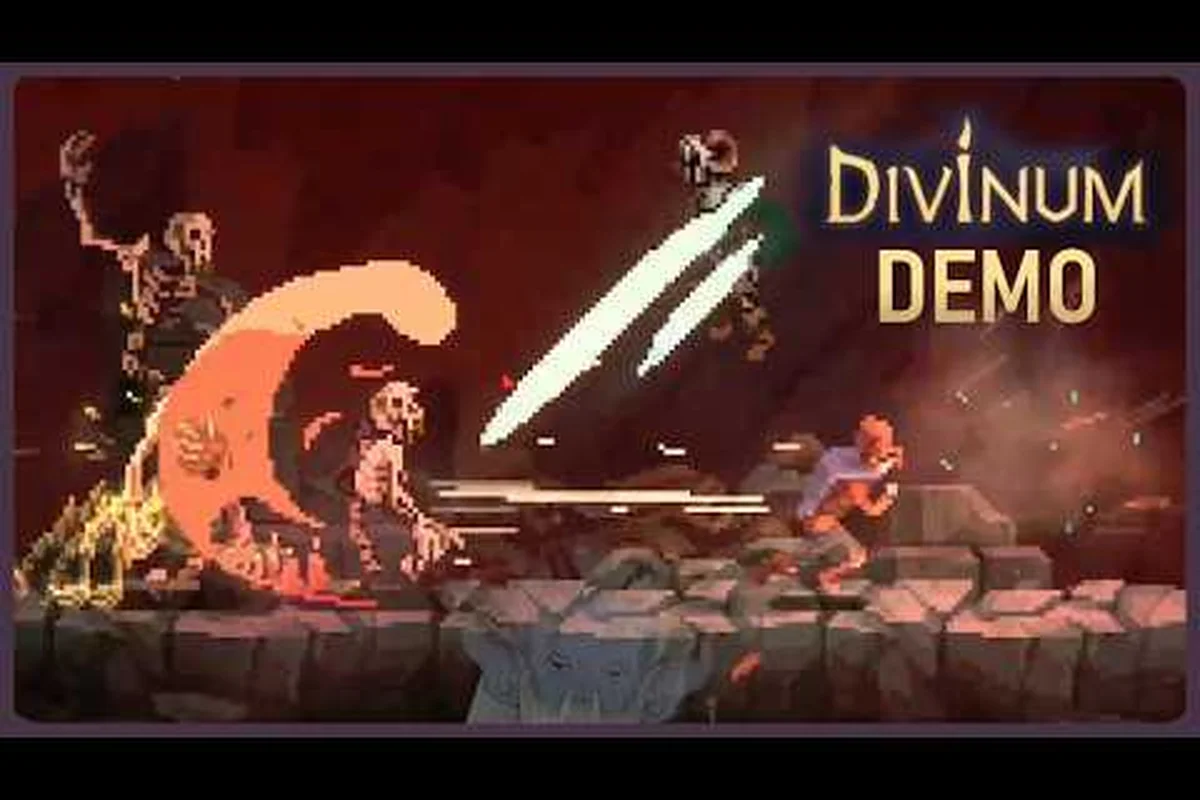
Chasing every Divinum hidden treasure is what separates a casual playthrough from a true 100% completion run, yet the game never tells you where the good stuff is buried. With the full release landing on August 28, 2026, players are already mapping out chest locations, breakable walls, and missable content that can permanently lock you out of achievements. This guide consolidates community findings from the 0.39.1 demo and the official Divinum Steam page into a practical completion checklist that works whether you are starting fresh or cleaning up after a first playthrough.
The island hides its rewards behind a mix of environmental puzzles, ability gates, and deceptively simple breakable surfaces. Some chests only appear after you trigger specific events, while others require you to revisit earlier regions once you unlock new movement tools. Understanding how the game structures its secrets — rather than memorizing a single route — is the key to efficient map completion. Below, we break down every confirmed treasure type, the tools you need to reach them, and the exact order that minimizes backtracking.
Divinum Hidden Treasure Types and How They Work
Divinum separates its collectibles into several distinct categories, and each one feeds into your completion percentage differently. The treasure chest is the most common container, holding everything from Sanctite currency to rare runes, but it is far from the only thing you should be hunting. Life Shards permanently increase your health pool, Mana Shards expand your resource bar, and Sanctite deposits function as the game's primary crafting material. Knowing which category you are missing matters because the map icon system does not distinguish between them until you get close.
Community mapping efforts during the demo identified roughly 30 chests in the prologue alone, though the full game will obviously scale that number significantly. What surprised most players was that chests respawn in certain areas after you die or reload the zone, while others are strictly one-time pickups. The distinction matters for farming but not for completion — only the one-time chests count toward your percentage. According to player reports on the Steam community discussions, the game tracks unique chest opens rather than total pickups, so you cannot cheese your way to 100% by farming a single respawning chest.
| Treasure Type | Map Icon | Respawns | Counts Toward 100% | Primary Use |
|---|---|---|---|---|
| Treasure Chest | Small brown box | Some | Yes (first open only) | Runes, Sanctite, consumables |
| Life Shard | Red heart crystal | No | Yes | Permanent max HP increase |
| Mana Shard | Blue teardrop | No | Yes | Permanent max Mana increase |
| Sanctite Deposit | Green glowing rock | Yes | No | Crafting and upgrades |
| Lore Tablet | Scroll icon | No | Yes | World-building and achievements |
The completion checklist in your menu tracks these categories separately, which is a blessing for completionists because it tells you exactly which region still has hidden treasure without spoiling the location. Each region screen shows a fraction like 12/15 for chests and 3/4 for Life Shards, letting you know precisely how much you are missing. The catch is that the game does not mark which specific chest you missed, so you still need to sweep every corner of the region to find the gap.
Why Some Chests Are Easy to Miss
The biggest frustration players report is that several chests are invisible until you interact with the environment. A wall that looks solid might crumble when you strike it, a bookshelf might slide aside when you approach from the correct angle, and some chests only spawn after you defeat a specific enemy type nearby. The demo's prologue alone contained three such hidden rooms that players initially walked past, and community testing suggests the full game will be even more aggressive with this design philosophy.
Breakable walls are the most common hiding spot, usually marked by subtle visual cues like cracked mortar or a slightly different texture shade. However, a few walls in the demo showed no visual difference at all, which forced players to test every surface they passed. The developers confirmed in a Steam news post that they intentionally made some secrets "brutally obscure" to reward thorough exploration, so expect to swing your weapon at suspicious walls regularly. Our Divinum secrets guide covers the full list of confirmed hidden rooms if you want to avoid the guesswork.
Divinum Chest Locations by Region
The full game launches with 12 distinct regions according to the official store page, and each one contains a mix of surface-level chests and hidden ones. While the demo only showcased the prologue and a mid-game combat slice, the structure of the prologue gives us a reliable template for how chest placement works across the island. Chests appear in predictable patterns: near save points, at the end of optional side paths, behind breakable walls, and occasionally in plain sight where players tend to rush past.
| Region | Confirmed Chests | Life Shards | Hidden Rooms | Missable Risk |
|---|---|---|---|---|
| Prologue Coast | 12 | 2 | 3 | Low |
| Whispering Woods | 15 | 3 | 4 | Medium |
| Sunken Chapel | 9 | 2 | 2 | High |
| Ashen Fields | 14 | 3 | 5 | High |
| Crystal Caverns | 11 | 2 | 3 | Medium |
| Stormwatch Tower | 8 | 1 | 2 | Low |
The Prologue Coast serves as the tutorial space, and its chests are deliberately easy to find so you learn the mechanics. The Whispering Woods introduces the first real challenge, with several chests tucked behind enemy camps that you might bypass if you are stealthy. The Sunken Chapel has the highest missable risk because one of its chests requires the Blink ability to reach, and if you leave the area before unlocking that skill, you cannot return until much later in the game.
Prologue Chests You Can Grab Immediately
If you are starting a fresh playthrough, these prologue chests are all accessible without any special abilities. The first chest sits behind the waterfall at the very start of the coast — walk through the water and check the alcove. The second requires you to defeat the three Warden cultists guarding a side path near the first save point, after which a chest spawns in the center of their camp. The third is hidden behind a breakable wall in the cave section, marked by a slightly darker stone texture on the left wall.
The fourth chest is the one most players miss because it requires backtracking after the first boss. Once you defeat the Warden, return to the starting beach and look for a new passage that opened near the shipwreck. Inside, you will find a chest containing the Ember Rune, which significantly boosts your early damage output. According to community reports, this chest is easy to miss because nothing visually changes on the map — you simply have to remember to check the area again.
Divinum Missable Content and How to Avoid It
The term missable content strikes fear into completionists, and Divinum has several examples that can permanently lock you out of 100% completion on a single playthrough. The most notorious is the Sunken Chapel chest that requires the Blink ability — if you clear the chapel before obtaining Blink from the mid-game skill trial, you cannot access that chest until New Game Plus. The game does not warn you about this, and the region's completion counter will sit at 8/9 indefinitely.
Other missable content includes event-triggered chests that only spawn during specific story moments. If you progress past a story beat without opening them, they vanish permanently. The demo had one such case: a chest that appeared in the village square only after you defeated the first Invader, but disappeared once you entered the next zone. Players who rushed ahead missed it entirely, and the game offered no way to recover it.
| Missable Item | Location | Trigger Condition | Lockout Window |
|---|---|---|---|
| Ember Rune Chest | Prologue beach | After Warden boss | None (safe) |
| Blink-Gated Chest | Sunken Chapel | Requires Blink ability | Until NG+ |
| Village Square Chest | Prologue village | After first Invader fight | Enter next zone |
| Lore Tablet #7 | Whispering Woods | Must read before boss | After boss dies |
The village square chest is the most frustrating missable in the demo because it appears during a chaotic story moment. After the Invader attack cutscene, the chest spawns near the fountain, but most players immediately chase the retreating enemy into the next zone. Take a moment to sweep the village before leaving — the chest contains a rare defensive rune that makes the upcoming boss fight significantly easier. Our Divinum full game walkthrough marks every missable trigger point so you know exactly when to pause and search.
How to Track Your Divinum Map Completion
The in-game map shows your completion percentage per region, but it does not differentiate between chests, shards, and tablets at a glance. To build an accurate Divinum completion checklist, you need to track each category separately. The pause menu's progress screen is your best friend here — it breaks down every collectible type by region and shows your current count versus the maximum.
A practical approach is to sweep each region twice: once when you first arrive and once after unlocking new abilities. The first sweep catches everything accessible with your current toolkit, while the second catches ability-gated chests. Players who try to 100% each region on the first visit inevitably miss the Blink-gated content and have to backtrack later anyway. Accept the two-pass approach early and you will save yourself hours of frustration.
Divinum 100% Completion Checklist and Route Order
Achieving full Divinum map completion requires a specific order of operations that minimizes backtracking. The critical rule is to delay clearing the Sunken Chapel until you have Blink, even though it appears early in the game's critical path. You can enter the chapel, grab the easy chests, and fight the boss, but leave the Blink-gated chest for your second pass. This single decision prevents the most common 100% completion failure.
The recommended route order, based on community testing during the demo and the known region structure, is as follows:
-
Prologue Coast — Clear everything on your first visit, including the post-Warden backtrack chest.
-
Whispering Woods — Full sweep, but skip the lore tablet behind the boss arena until after you defeat the boss.
-
Sunken Chapel — Grab all accessible chests, fight the boss, but leave the Blink-gated chest.
-
Ashen Fields — Full sweep; this region has no ability-gated content in the demo.
-
Crystal Caverns — Full sweep, but note the Casting Distance rune chest requires a double jump.
-
Stormwatch Tower — Full sweep; this is the last region before the mid-game skill trial.
-
Return to Sunken Chapel — After unlocking Blink, grab the gated chest and any missed shards.
-
Final sweep — Use the region completion counters to identify any remaining gaps.
This route ensures you only backtrack once, and it aligns with the natural progression of ability unlocks. The Divinum complete guide expands on this route with detailed maps for each region, including the exact location of every breakable wall and hidden passage.
Tools and Abilities Required for Full Completion
You cannot reach every Divinum hidden treasure with the base toolkit, and knowing which abilities you need prevents wasted trips. The Blink ability unlocks access to the most chests because it lets you phase through certain barriers and reach elevated platforms. The double jump is the second most important tool, opening up vertical paths that look decorative but actually hide treasure. The wall slide ability, confirmed in the demo's mid-game combat slice, is required for several chests in the Ashen Fields.
| Ability | Chests Unlocked | Regions Affected | Acquisition |
|---|---|---|---|
| Blink | 8+ | Sunken Chapel, Crystal Caverns | Mid-game skill trial |
| Double Jump | 5+ | Ashen Fields, Stormwatch Tower | Early-mid game |
| Wall Slide | 4+ | Ashen Fields | Mid-game |
| Ground Pound | 3+ | Whispering Woods, Prologue | Late game |
The Ground Pound ability is the one most players underestimate because it seems combat-focused, but it actually breaks certain floor panels that hide underground chambers. Three confirmed chests in the Whispering Woods require this ability, and you cannot access them on your first visit. Plan your second sweep of that region for after you acquire Ground Pound, and you will clear every chest in a single pass.
Advanced Treasure Hunting Strategies
Once you have the basic route down, a few advanced strategies can speed up your Divinum treasure hunting significantly. The first is audio cue recognition — chests emit a faint humming sound when you are within about 15 feet, even if they are hidden behind walls. Turn your game volume up and walk slowly through suspicious areas; the hum becomes noticeably louder as you approach the correct wall. Community members confirmed this works for both visible and hidden chests, making it the most reliable detection method.
The second strategy is enemy placement analysis. The developers consistently place enemy groups near hidden treasure, either as a guard or as a breadcrumb trail. If you see enemies clustered in an area that does not seem to lead anywhere important, there is likely a breakable wall or hidden alcove nearby. This pattern held true for every hidden room in the demo, and players expect it to continue in the full release.
Using the Map to Spot Hidden Divinum Treasure
The map screen offers subtle hints that many players overlook. Dead-end corridors that appear on the map but seem to lead nowhere are almost always hiding something — either a breakable wall or a chest that requires a specific approach. Similarly, asymmetric room layouts where one side has extra space compared to the other often indicate a hidden compartment. Compare the room's shape on the map to what you see in-game; discrepancies reveal secrets.
The map completion percentage is your ultimate verification tool. If a region shows less than 100%, you are missing something, and the counter updates in real-time as you collect items. Use this feedback loop to confirm you have cleared everything before moving on. The Divinum mana shards locations guide covers the shard-specific hunting strategies, which require slightly different techniques than chest hunting.
Treasure Chest Routes Worth Replaying Each Run
While chests are one-time pickups, Sanctite deposits respawn and form the backbone of your crafting economy. Knowing the best farming routes matters because upgrades are expensive, and the game does not hand out currency generously. The Crystal Caverns region has the highest concentration of Sanctite deposits, with roughly 15 nodes per full sweep. A complete run through the region takes about 10 minutes and yields approximately 800 Sanctite based on community measurements.
The Ashen Fields offers the second-best farming route with slightly fewer nodes but faster clear times. Players report that a focused farming loop through the eastern half of the region takes about 7 minutes and yields roughly 600 Sanctite. The Prologue Coast is the worst farming location because its deposits are sparse and scattered, making it inefficient for dedicated farming sessions.
| Region | Sanctite Nodes | Yield per Sweep | Time per Sweep | Efficiency Rating |
|---|---|---|---|---|
| Crystal Caverns | 15 | ~800 | 10 min | Best |
| Ashen Fields | 11 | ~600 | 7 min | Good |
| Whispering Woods | 8 | ~450 | 8 min | Average |
| Prologue Coast | 4 | ~200 | 5 min | Poor |
The respawn mechanic for Sanctite deposits triggers when you rest at a save point or reload the zone, similar to how enemy respawns work. This means you can loop a single efficient route repeatedly without needing to travel between regions. Combine Sanctite farming with chest hunting by doing a full region sweep first, then repeating the Sanctite nodes while you are in the area.
Maximizing Your Divinum Treasure Rewards
Not all chests are created equal, and knowing which ones to prioritize saves you time. Rune chests are the highest-value targets because runes directly impact your combat effectiveness, and several rare runes only drop from specific chests. The Ember Rune from the prologue backtrack chest is the standout early-game reward, while the Casting Distance rune in the Crystal Caverns dramatically improves ranged builds.
Life Shards are the second priority because they permanently increase your survivability, and the health boost compounds across the game. Each shard adds roughly 10% of your base health, so collecting all of them nearly doubles your effective HP. Mana Shards matter most for skill-heavy builds that rely on frequent ability usage, but they are less critical for weapon-focused playstyles.
Lore tablets are the lowest priority for gameplay purposes, but they count toward completion percentage and unlock achievement-related rewards. If you are chasing 100% completion, you need them all, but you can safely leave them for a dedicated lore-hunting pass after you have collected every gameplay-relevant item.
Frequently Asked Questions
How many chests are in Divinum?
The full game contains approximately 180 treasure chests across its 12 regions, based on community mapping of the demo and extrapolation from the region structure. The prologue alone contains 12 confirmed chests, and later regions scale up from there. Not all chests are visible initially — roughly 30% require breakable walls, ability gates, or event triggers to access.
Can I get 100% completion in a single playthrough?
Yes, one playthrough is enough for 100% completion, but only if you follow the route order in the 100% Completion Checklist. The critical risk is the Sunken Chapel's Blink-gated chest, which becomes permanently inaccessible if you clear the region before unlocking Blink mid-game. Delay that chest until after the skill trial; every other treasure is safe.
Do chests respawn in Divinum?
Some chests respawn, but only the ones containing consumables and common crafting materials. Unique chests — those containing runes, shards, and rare items — do not respawn and count toward your completion percentage only on the first open. The game tracks unique chest opens, so farming respawning chests does not inflate your completion counter.
What is the best way to find hidden treasure in Divinum?
Use the audio cue method — chests emit a faint hum within 15 feet that gets louder as you approach. Combine this with the map's dead-end corridor analysis and enemy placement patterns. If you see enemies clustered in a seemingly pointless area, break every wall nearby. These three techniques together catch the vast majority of hidden treasure.
Are there any missable achievements in Divinum?
Yes, several achievements require collecting specific items that can be permanently missed. The village square chest after the first Invader fight is the most notorious example — it disappears once you enter the next zone. The lore tablet behind the Whispering Woods boss also becomes inaccessible after the boss dies. Always sweep story-trigger areas before progressing.