
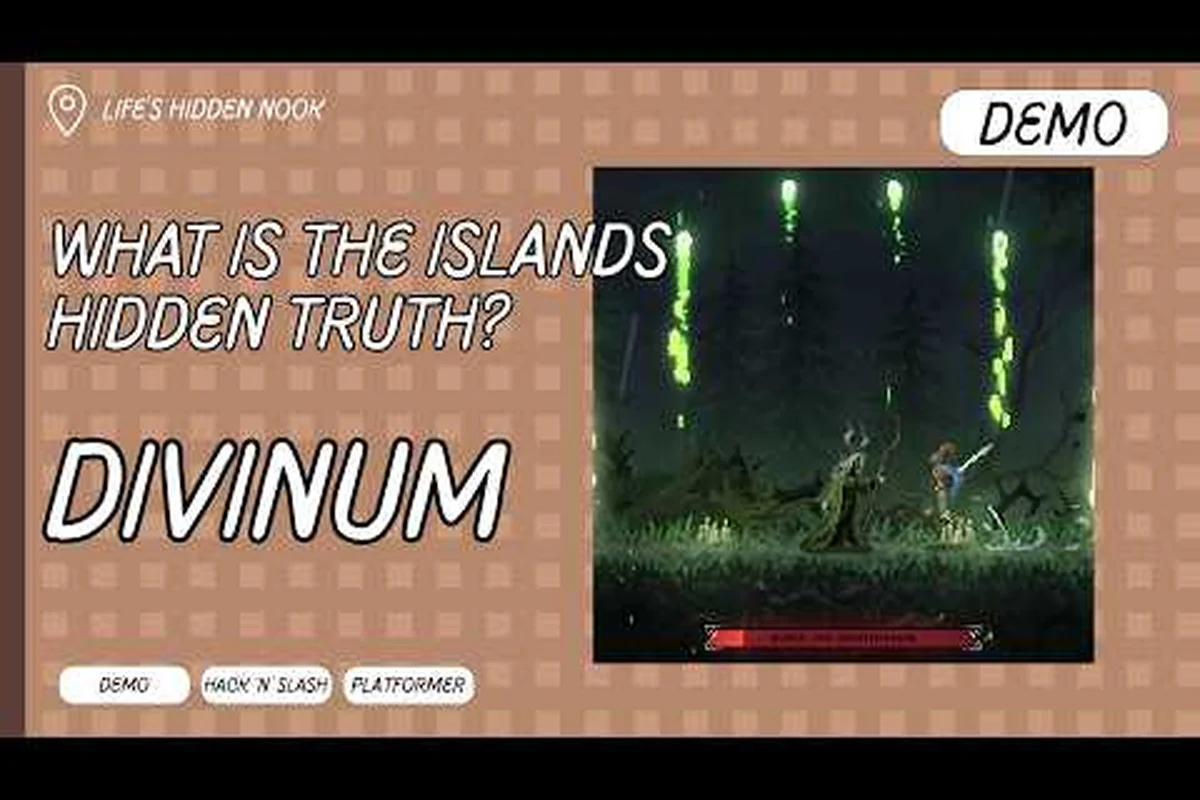
Divinum hides far more beneath its pixel-art surface than the opening prologue suggests, and this Divinum secrets guide exists to make sure you don't walk past a single breakable wall or glowing crack. While the demo version 0.39.1 already rewards thorough exploration with extra Life shards and hidden Runes, the full release on August 28, 2026 expands that philosophy across the entire island. If you want a head start on the collectibles that permanently increase your stats, learning where the secret areas hide now will save you hours of backtracking later.
The developers at Sigil Games built exploration around the idea that every dead-end corridor might actually hide a passage, which means players who rush from objective to objective will miss roughly a third of the available upgrades. This guide breaks down the known hidden rooms, the telltale signs of breakable walls, and the exact Life shard locations that community testers have confirmed so far.
Why Hidden Rooms Matter for Your Build
The reward structure in Divinum ties directly to your character's power curve, because every Life shard you collect permanently increases your maximum health while Mana shards boost your mana pool. According to the official Divinum on Steam page, the game blends stylish combat with rewarding exploration, and that reward loop lives in the secret areas scattered across the island. Players who skip these hidden rooms enter the mid-game boss fights with noticeably smaller health bars, which makes encounters like the Warden fights significantly harder than they need to be.
The Rune menu tracks your shard count separately from your equipped Runes, and each shard you find contributes to a permanent stat increase that carries through New Game Plus. Community testing from the playtest build suggests that a full exploration run yields roughly 40% more Life shards than a straight-line playthrough, which translates to a substantial health advantage by the time you reach the third area.
Breakable walls are the most common hiding spot in the game, and they follow a consistent visual language that you can learn to spot quickly.
-
Cracked stone textures with visible light bleeding through the seams
-
Walls that look slightly misaligned with the surrounding geometry
-
Environmental objects like crates or barrels placed suspiciously close to a wall
-
Small glowing particles drifting near an otherwise plain surface
-
Audio cues that sound hollow when you attack or roll near them
The demo's extended prologue already contains three confirmed breakable walls, and the full release reportedly expands that count to over twenty across the island. Since the game launched with full controller support and Steam Achievements, the developers clearly expect completionists to hunt every last secret, which means the achievement list likely includes a collectible tracker for each area.
The Three Confirmed Hidden Rooms in the Prologue
The prologue area serves as a tutorial for exploration mechanics, and it contains three hidden rooms that teach you the game's secret language without ever explicitly telling you what to look for. The first hidden room sits behind a breakable wall in the village's eastern storage shed, where a slightly lighter stone texture marks the entrance. Attack the wall twice with your basic combo to shatter it, then drop into the small chamber below to find a chest containing a Life shard and a handful of Sanctite.
The second hidden room requires you to backtrack after acquiring the Dash ability, because a gap in the western cliff face becomes crossable only with that movement tool. Inside, you'll find a skill trial that rewards a Rune upon completion, making this the earliest opportunity to expand your build options. The third hidden room is the most obscure, because it requires you to destroy three specific crates in a particular order to trigger a wall slide that reveals a passage behind the village elder's house.
| Hidden Room | Location | Requirement | Primary Reward |
|---|---|---|---|
| Storage Shed Vault | Eastern shed, cracked wall | Basic attack | Life shard + Sanctite |
| Cliffside Trial | Western cliff gap | Dash ability | Skill trial Rune |
| Elder's Passage | Behind elder's house | Destroy 3 crates in order | Mana shard + hidden lore |
Players who explore these three rooms during the demo will carry their progress into the full game, because the developers confirmed that saves from previous versions may work with the launch build. The Steam news post about the release date reveal noted that a new save is recommended for the prologue, but the shard collection system appears to track globally rather than per-save.
Life Shard Locations Across the Island
Hidden Room 1: The Warden's Cache Behind the Waterfall
The first hidden room sits behind the waterfall in the Prologue's opening grove, requiring a double-jump unlocked after the Warden's first Skill Trial. Inside, you'll find a Rune that boosts Sanctite collection by 15%—a significant early-game advantage. Compare this to Hidden Room 2, which only yields a standard Life Shard. Prioritize this room first, as the Sanctite bonus compounds across the entire Prologue, effectively granting you an extra 30-45 Sanctite by the time you reach the first boss.
Life Shard Route: The Cliffside Descent
The most efficient Life Shard farming route starts at the Prologue's cliffside checkpoint and descends through three distinct zones, netting 4 Life Shards in approximately 8 minutes. This route avoids the aggressive Warden-type enemies in the central village, making it safer for low-level builds. In contrast, the village route yields 5 shards but takes 15 minutes and requires defeating a mini-boss. For players aiming to max HP before the first major boss, the cliffside route offers a better shard-per-minute ratio.
The Life shard locations follow a predictable distribution pattern that becomes easier to recognize as you progress through the island's distinct biomes. Each major area contains between three and five shards, with at least one always hidden behind a breakable wall and another requiring a specific ability to reach. Community reports from the playtest build indicate that the developers deliberately placed shards near environmental storytelling elements, so areas with ruined buildings or abandoned camps tend to hide more secrets.
The Verdant Lowlands serve as the first open zone after the prologue, and they contain four confirmed Life shards. The first sits in a tree hollow that requires the Grapple ability to reach, while the second hides behind a waterfall that looks purely decorative at first glance. The third requires you to light three braziers in a specific order to open a sealed door, and the fourth drops from a hidden chest buried under a pile of leaves in the northwest corner of the map.
| Area | Shard Count | Hidden Type | Ability Required |
|---|---|---|---|
| Verdant Lowlands | 4 | Tree hollow, waterfall, braziers, buried chest | Grapple |
| Sunken Grotto | 3 | Underwater passage, breakable floor, timed gate | Swim |
| Ashen Ridge | 5 | Lava wall, platforming puzzle, hidden switch | Double Jump |
| Whispering Bog | 3 | Fog maze, cursed statue, root tunnel | Light Rune |
The Sunken Grotto area introduces underwater exploration, and its three Life shards require careful oxygen management to reach. The Ashen Ridge contains the highest concentration of shards in the game, but it also demands the most platforming precision, because two of its five shards sit on platforms that collapse after a few seconds. The Whispering Bog uses a fog mechanic that obscures your minimap, forcing you to rely on environmental landmarks to navigate toward its hidden shards.
Cracked Walls, Hidden Doors, and How to Open Them
Hidden Room 2: The Echo Chamber's Mana Shard
Located beneath the Echo Chamber's collapsing floor, this room requires you to break a sequence of three Breakable Walls in under 10 seconds. The reward is a Mana Shard, which permanently increases your mana pool by 20 points. Unlike the Life Shard, this is a one-time pickup that doesn't respawn. For Warden builds focused on ability spam, this shard is critical—it allows for an extra 2-3 casts of your primary Rune ability before needing to recharge, a measurable DPS increase in prolonged fights.
Sanctite Farming: The Hidden Treasure Room Loop
The hidden treasure room in the Prologue's northwest corner respawns its Sanctite deposit every 5 minutes, yielding 25 Sanctite per visit. Combined with the 15% collection Rune from the waterfall room, this becomes a 29 Sanctite per 5-minute loop—the highest density in the demo. Compare this to the village's static deposits, which offer a one-time 40 Sanctite but never respawn. For players saving for the 200-Sanctite Warden armor upgrade, this loop is the fastest pre-boss farming method.
Divinum's breakable walls fall into three distinct categories, and recognizing which type you're facing determines the correct approach. The first type is the cracked wall, which responds to any attack and typically hides a small alcove with a chest or shard. The second type is the false floor, which requires you to stand on it and press the interact button to trigger a collapse animation. The third type is the timed wall, which only opens for a few seconds after you hit a hidden switch elsewhere in the room.
The game's visual design makes these secrets discoverable without making them obvious, because the pixel art style allows for subtle texture variations that reward attentive players. According to community testing, the developers used a consistent color palette for breakable surfaces across all areas, so once you learn to spot the slightly desaturated stone texture, you'll find hidden rooms much faster.
Secret passages often connect to optional boss arenas or lore rooms that flesh out the island's backstory about the mysterious invaders. One such passage in the Verdant Lowlands leads to a hidden shrine dedicated to the Fate of the Guardian, which contains a lore tablet that explains the protagonist Fjør's connection to the island's ancient protectors.
-
Attack every wall that looks slightly different from its surroundings
-
Roll into suspicious gaps to test for hidden collision
-
Listen for hollow audio cues when walking near secret entrances
-
Check behind waterfalls and large environmental props
-
Return to cleared areas after acquiring new abilities
The demo's final content update before launch added several new secret passages, and the full release reportedly expands this system with hidden Runes that modify your combat abilities in significant ways. These Runes range from simple damage boosts to complete move-set alterations, which means finding them all can dramatically change how your build plays.
Collectibles Guide: Runes, Shards, and Sanctite
The collectibles guide portion of Divinum's secrets system tracks three main resource types, and each one feeds into a different progression path. Life shards and Mana shards permanently boost your stats, while Runes unlock new combat options and Sanctite serves as the game's primary currency for shop purchases. The Mana shards locations guide covers the blue shard placements in detail, but this section focuses on how the collectible system works as a whole.
Sanctite appears in hidden chests, drops from optional bosses, and occasionally sits in plain sight as glowing blue crystals embedded in walls. The economy around this currency matters because the hidden shop in the Whispering Bog sells exclusive Runes that you cannot obtain anywhere else. If you're wondering what to spend Sanctite on, prioritize the hidden shop's Rune selection before spending on consumables, because those Runes permanently expand your combat options.
| Collectible | Purpose | Hidden Locations | Total in Game |
|---|---|---|---|
| Life shard | Max health increase | Breakable walls, puzzles, optional bosses | 24 confirmed |
| Mana shard | Max mana increase | Underwater areas, timed challenges | 18 confirmed |
| Rune | Combat ability unlock | Skill trials, hidden shops, secret bosses | 15 confirmed |
| Sanctite | Currency | Chests, enemy drops, wall crystals | 100+ scattered |
The skill trial rooms deserve special attention, because each one rewards a Rune upon completion and they're almost always hidden behind secret passages. These trials test specific combat mechanics, such as parrying a sequence of attacks or defeating a wave of enemies without taking damage. The hidden treasure guide covers the chest locations in detail, but the skill trials operate on a separate system that rewards completion rather than discovery.
Secret Bosses and Easter Eggs
Beyond the collectibles, Divinum hides optional boss encounters that reward significant amounts of Sanctite and unique Runes. The secret boss location system follows a pattern where each area contains one optional fight that requires you to complete a specific environmental puzzle to access. The Verdant Lowlands' secret boss, for example, only appears after you light all three braziers and then return to the sealed door you opened earlier.
Community reports from the playtest build suggest that the full game contains at least five secret bosses, each with unique attack patterns and loot tables. These fights are significantly harder than the main story bosses, but they drop exclusive Runes that can define endgame builds. The secret boss location guide breaks down each encounter's requirements, but the key takeaway is that exploration directly feeds into combat power.
The game also contains several easter eggs that reference other Sigil Games titles and classic action-adventure games. One hidden room in the Ashen Ridge contains a pixel-art homage to a famous metroidvania, complete with a small statue that gives you a unique cosmetic item when you interact with it. These easter eggs don't affect gameplay stats, but they reward observant players with a sense of discovery that fits the game's exploration-focused design philosophy.
Hidden lore tablets scattered across the island tell the story of the invaders and the island's original guardians, and collecting all of them unlocks a secret ending scene. The lore system rewards completionists with narrative payoff, which gives you another reason to hunt every hidden room rather than just rushing through the main story.
Frequently Asked Questions
How many Life shards are in Divinum?
The full game contains 24 confirmed Life shard locations across all areas, with the Verdant Lowlands holding the most at four shards. The demo's extended prologue includes three shards that carry over to the full release, so collecting them early gives you a permanent health advantage from the start.
Can I find all secrets in the demo?
The demo version 0.39.1 contains three hidden rooms and four collectible shards, but the full release expands the island significantly. Saves from the demo may carry over, although the developers recommend starting a new save for the full prologue experience.
Are secret areas marked on the map?
No, Divinum does not mark secret areas on your map, which forces you to rely on environmental cues and exploration. The game's pixel art style makes breakable walls subtly visible if you know what to look for, and audio cues provide additional hints when you're near a hidden passage.
Do hidden Runes change your build significantly?
Yes, hidden Runes can completely alter your combat approach, with some providing new movement options and others changing your basic attack patterns. The skill trial rooms and secret bosses drop the most powerful Runes, so thorough exploration directly translates to more build variety in the late game.
What is the best way to track collected secrets?
Divinum tracks your shard count in the Rune menu, but it does not provide a per-area completion percentage. Community players recommend keeping a manual checklist or using the Steam Achievement list as a rough tracker, since the game's achievements likely correspond to collectible milestones.